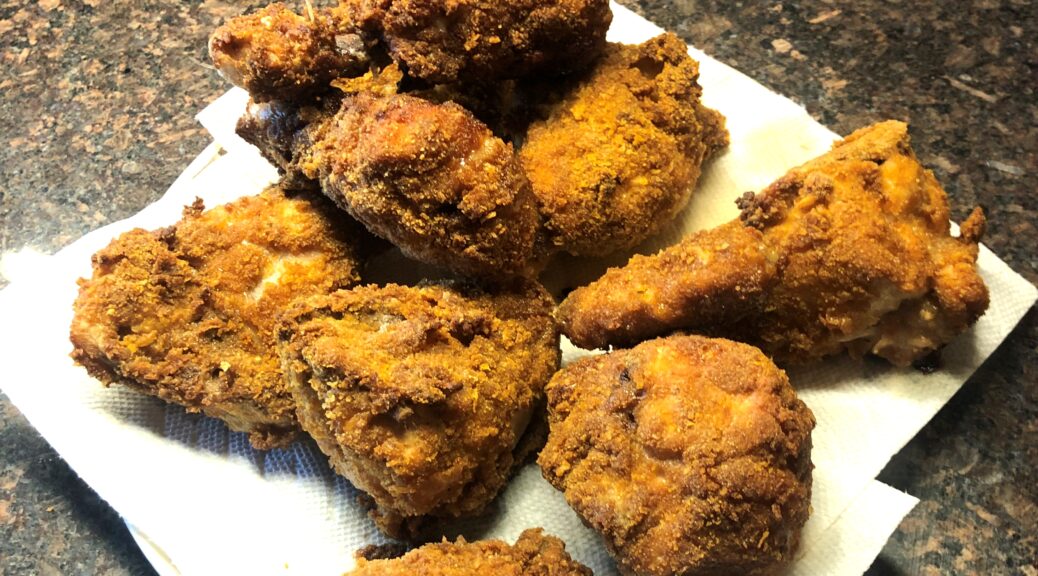
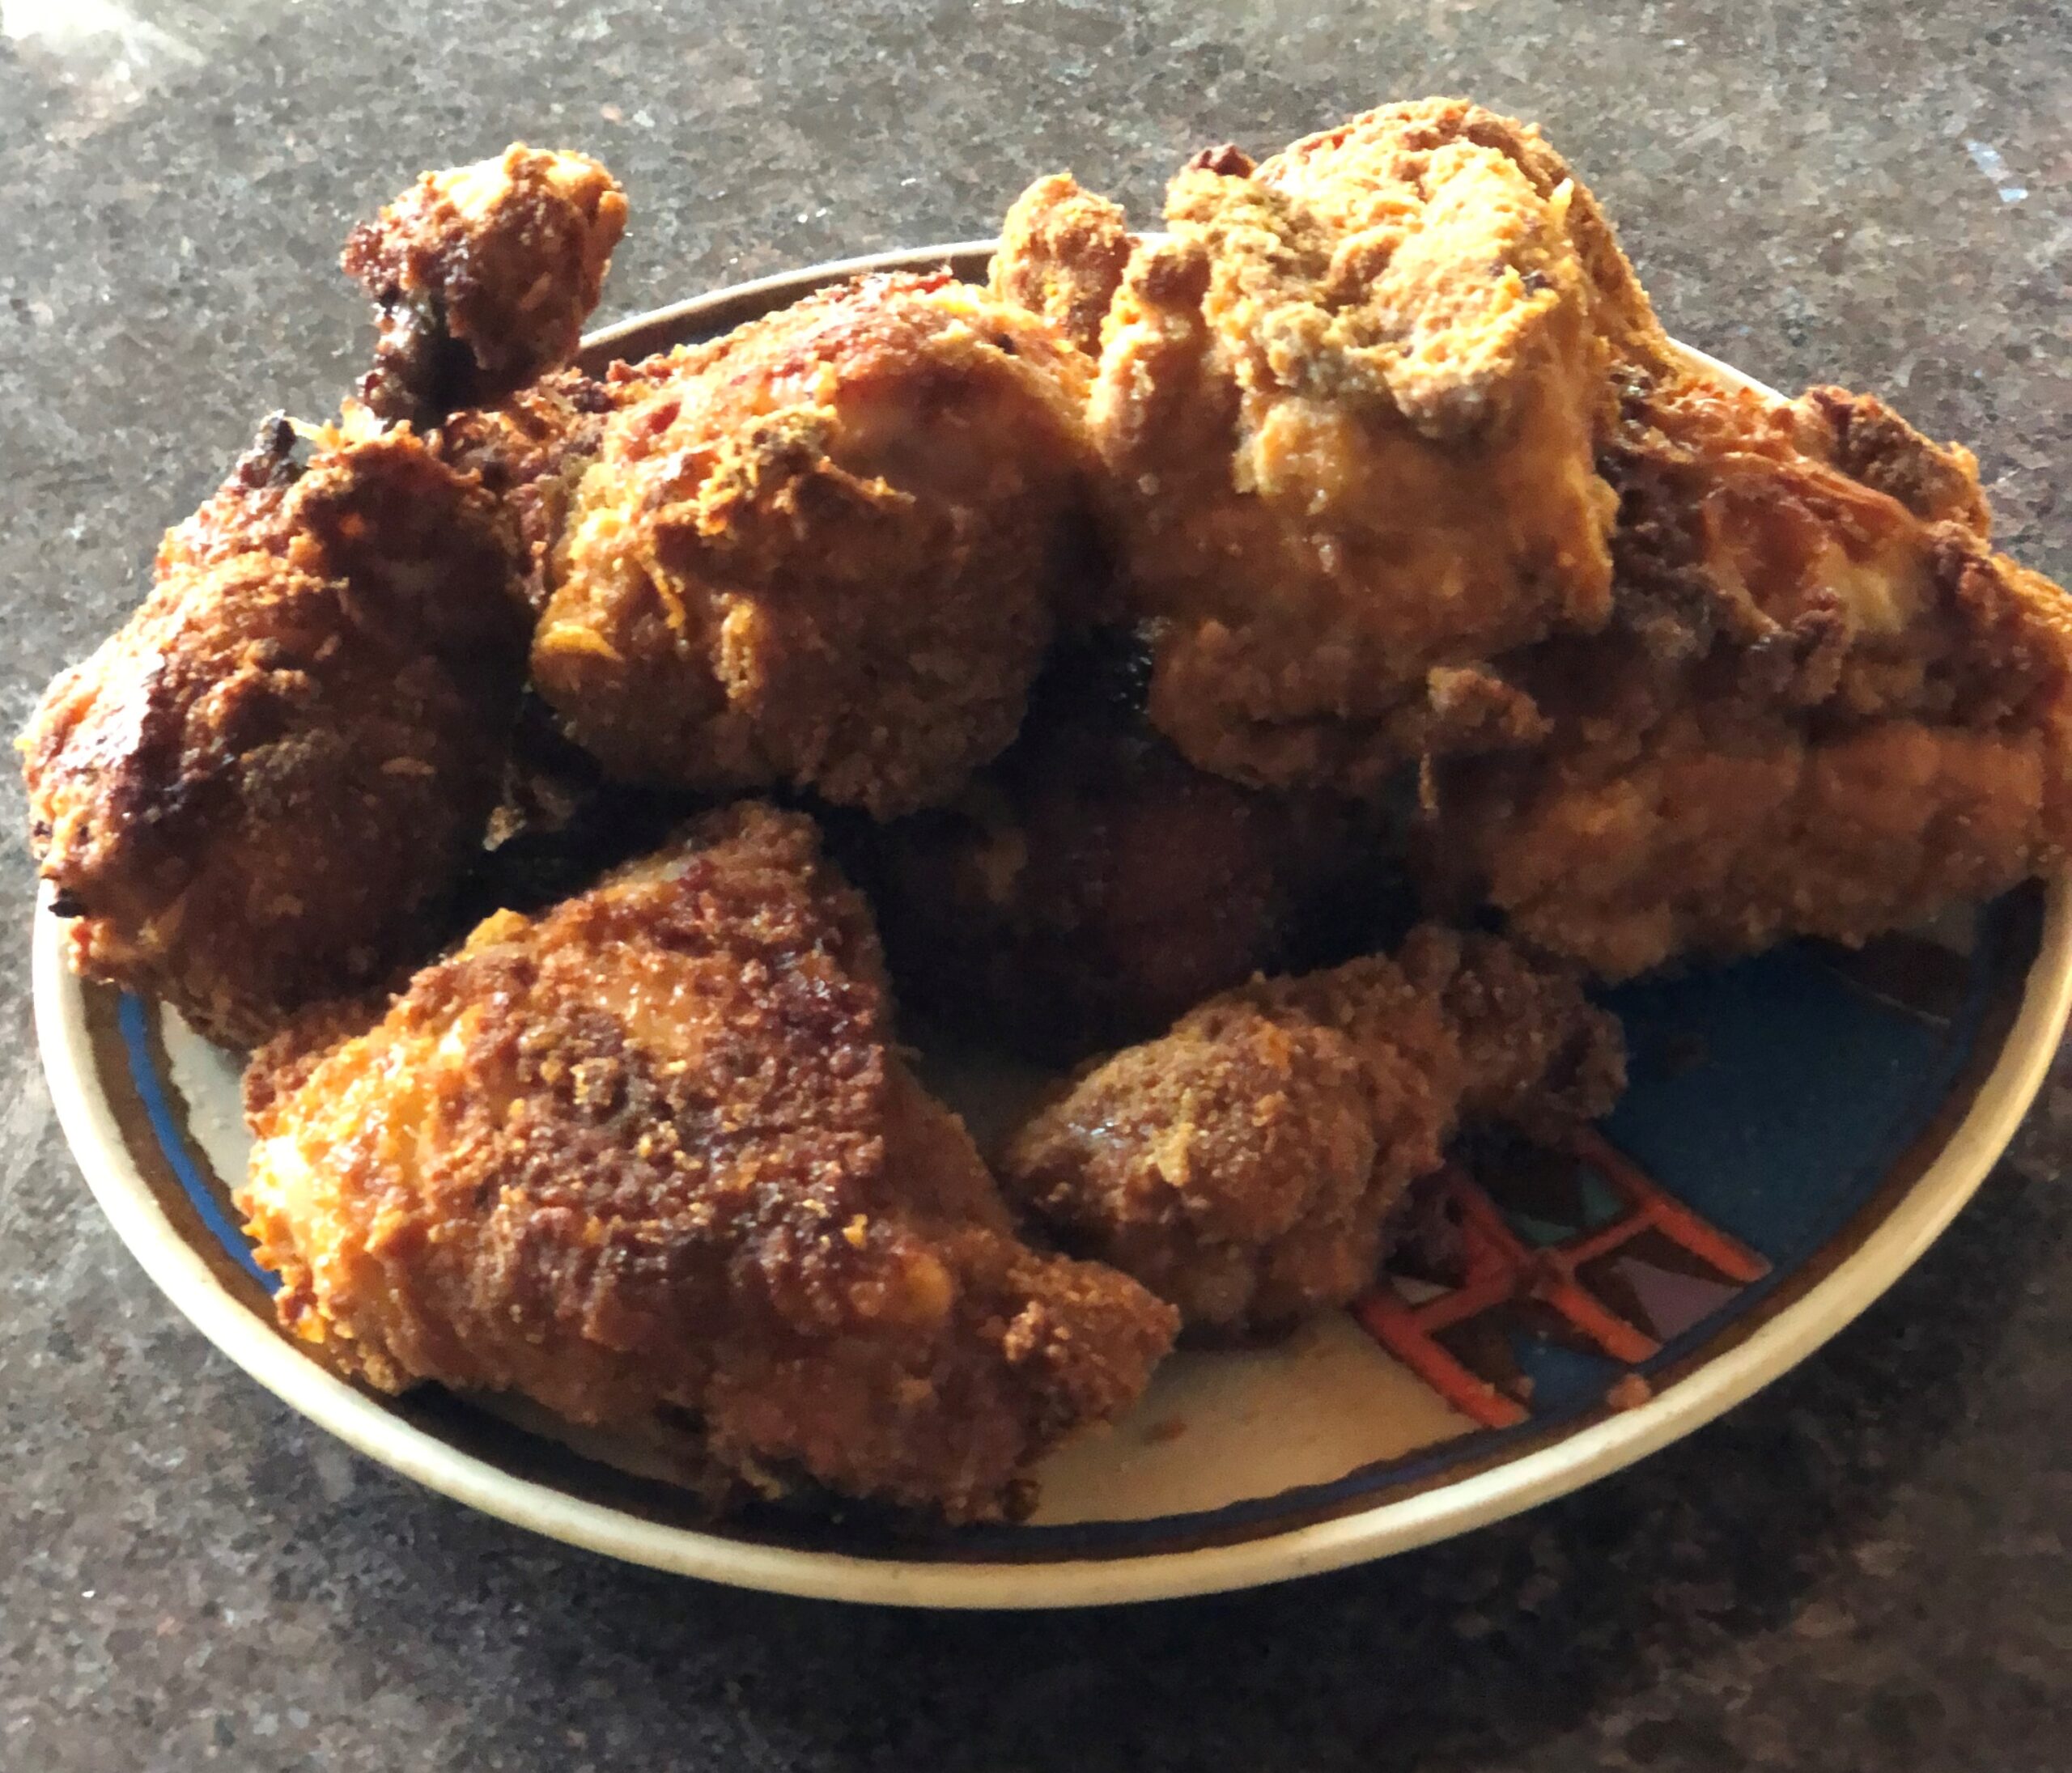
Corn Flake Chicken

Corn Flake Chicken

Corn Flake Chicken

My mother used to make what she called corn flake chicken. She got the recipe from one of the women’s magazines she used to read. The corn flakes and deep fry make this chicken extra crispy. The brining was my idea and so was the addition of Cajun Spice.
Ingredients:

Corn Flake Chicken

For the brine –
  • 4 cups warm water
  • 4 tbsps. kosher salt
  • 2 tbsps. sugar
For the egg wash –
  • 2 or 3 large eggs
  • 1 tbsp. paprika (hot or sweet)
  • 1 tbsp. Cajun spice
  • ½ tsp. garlic powder
  • 1 tsp. salt
  • 1 tsp. black pepper
  • 3 tbsps. milk

 For the chicken –

  • ½ cup flour
  • 1 ½ cup ground corn flakes
  • 1 whole chicken cut into pieces
  • Enough vegetable oil to cover chicken in a deep fryer
Cut the chicken into 10 pieces – 2 wings, 2 legs, 2 thighs, and 2 breasts each cut in half. Place the pieces in the brine and leave for at least 3 hours or as long as overnight.
Pre-heat oven to 400o and fryer oil to 350o.
Blot the chicken pieces dry. Dredge in the flour and coat evenly. Shake off excess and place in a dish.
Corn Flake ChickenBeat the eggs in a bowl and add the paprika, Cajun spice, garlic powder, salt, black pepper, and milk.

Corn Flake ChickenYou’ll need a cup and a half of ground corn flakes to coat the chicken. A 12 ounce box of corn flakes will give you 2 cups. Pour it into the blender and whirl until the consistency is like coarse breadcrumbs.  Dip the floured chicken in the egg wash and let the excess drip off. Press it into the corn flake crumbs and thoroughly coat it.

Corn Flake ChickenPlace the chicken in the 350o oil and fry for 2 – 3 minutes, turning once. You only need to brown the corn flake crumbs. The chicken will cook in the oven. Fry as many pieces as fit in your fryer without touching. Place the fried chicken in a lightly oiled roasting pan and roast for 25 minutes. Drain on paper towels and serve.


The same recipe, minus the brining and oven, works well with fish too. Just deep fry for a few minutes longer.

Corn Flake Chicken

Click here for updated GALLERY
Portfolio and Yelp

Seared Scallops

Sea scallops are found in deep, cold ocean waters—up to 200 meters deep—around the world. In the U.S., they are typically caught in the Northwest Atlantic Ocean, from Newfoundland to Cape Hatteras, North Carolina. Sea scallops are up to three times larger in size than bay scallops, with some reaching up to two inches in diameter.

Seared Scallops

Seared Scallops

Seared Scallops Ingredients:
  • 1 tbsp. butter
  • 1 olive oil
  • 1 lb. sea scallops
  • Salt and black pepper
  • 1 tbsp. chopped fresh parsley

For The Lemon Butter Sauce:

  • 2 tbsp. unsalted butter
  • 2 cloves garlic, minced
  • Juice of ½ lemon & ¼ cup white wine or chicken broth
  • Salt and black pepper
  • 1 tbsp. chopped fresh parsley

Seared ScallopsRince scallops in cold water and dry. Season with salt and black pepper. Add 1 tablespoon each of butter and olive oil in a frying pan over high heat. Working in batches, add scallops to the pan in a single layer and cook, flipping once, until golden brown – about 2-3 minutes per side. Don’t crowd the pan. Set aside and keep warm.

Seared ScallopsFor the lemon butter sauce, melt 2 tablespoons butter in the skillet. Add garlic and cook, stirring for about 1 minute. Stir in lemon juice, wine, and parsley. Season with salt and pepper.

Seared ScallopsServe scallops with lemon butter sauce and garnished with parsley.

Seared Scallops

Click here for updated GALLERY
Portfolio and Yelp

Chicken Kyiv

Forbes Advisor How to Donate to Ukraine Relief Efforts


Chicken Kyiv

Chicken Kyiv

Chicken Kyiv (the Ukrainian spelling, not the Russian Kiev) used to be menu standard at most white-tablecloth restaurants. I suppose it’s gone out of style. I thought of it lately because of the Russian invasion of Ukraine. I looked at a few different recipes online and came up with this fairly traditional one. It’s a bit involved, with lots of steps, but it’s worth it. Oddly, the chicken in this recipe spends more time in the freeze than in the oven.
 
Chicken Kyiv
Chicken Kyiv Ingredients:
  • 2 small cloves garlic, minced
  • 1 pinch salt
  • 2 tbsp. finely chopped fresh flat-leaf parsley
  • 6-8 tbsp. butter depending on chicken breast size
  • 2 skinless, boneless chicken breast halves, cut in half lengthwise and pounded to 1/4-inch thickness
  • salt and pepper
  • ½ cup all-purpose flour
  • 2 teaspoons salt
  • 2 beaten eggs
  • 1 cup unseasoned breadcrumbs
  • 2 cups vegetable oil for frying
  • 1 pinch sweet paprika
Grind garlic and a pinch of salt together with a mortar and pestle until garlic is completely smashed. Add parsley and mix. Mash the butter into the garlic mixture with the pestle until parsley and garlic are fully incorporated into the butter. You can also do this with a fork and bowl if you’d like. Wrap the butter mixture in plastic wrap and refrigerate for 15 minutes.Chicken Kyiv

Season the 4 chicken breasts with salt and pepper. Divide the chilled butter into 4 pieces. Place one piece in the center of each chicken breast. Fold the chicken breast up over the butter to form a tight pocket around the butter. Gather the sides of each chicken breast to the center to form a round ball. The top of the chicken will be smooth, and the bottom will be gathered.
Chicken Kyiv
Tightly wrap each chicken breast ball in plastic wrap, put wrapped breasts on a plate, and chill in the freezer until the gathered bottoms hold together and are slightly firm about 30 minutes.

Whisk flour and 2 teaspoons salt together in a shallow bowl. Whisk eggs together in another shallow bowl. Pour the breadcrumbs into a third bowl. Remove chicken breast from the plastic wrap. Gently press each chicken breast ball into the flour mixture to coat and shake off any excess flour. Dip into the beaten eggs, then press into breadcrumbs. Place breaded chicken onto a plate, cover with plastic wrap, and return to the freezer to chill until firm it, about 15 minutes.
Chicken Kyiv

Heat oil in a deep-fryer or large saucepan to 350 o. Preheat oven to 400o. Lightly oil a baking sheet.
Chicken Kyiv
Working in batches, cook chicken, gathered side down first, in hot oil and until lightly golden. about 1 minute per side. Once fried, the balls will hold their shape. Transfer them to the prepared baking sheet. Sprinkle salt and paprika over them. Bake in the preheated oven for 15 to 17 minutes. An instant-read thermometer inserted into the center should read at least 165o. Let rest for 5 minutes before serving.Chicken Kyiv

This image has an empty alt attribute; its file name is Doc3_Page_2aa.jpg

Chicken KyivForbes Advisor How to Donate to Ukraine Relief Efforts

Chicken Kyvi

Chicken Kyiv

Click here for updated GALLERY
Portfolio and Yelp

Roman Grain and Greens Soup

Roman Grain and Greens Soup

Every so often I make a recipe with my doctor in mind. She always tells me, “Less meat and more grain and greens.” Roman Grain and Greens soup is just what the doctor ordered. In addition to barley, lentils, split-peas, and chickpeas there are 5 kinds of greens.

Roman Grain and Greens Soup

Roman Grain and Greens Soup

Ingredients:
  • 1⁄2 cup pearled barley
  • 1 cup yellow split peas
  • 1 cup lentils
  • 10 cups water or more
  • 1 14 oz. chickpeas, drained and rinsed
  • 2 teaspoons salt, plus more to taste
  • 1 teaspoon dried oregano
  • 1⁄2 teaspoon ground fennel seed
  • 2 Tablespoons coloratura de alici
  • 1 large or 2 smaller leeks, white part and 3 inches of green part, split, rinsed and chopped
  • 3 cups coarsely chopped Savoy cabbage, packed
  • 1⁄4 cup chopped parsley, packed
  • 1⁄4 cup chopped fresh dill, packed
  • 1⁄4 cup chopped fennel leaves, packed
  • 1⁄2 cup olive oil
Place barley, peas and lentils in a heavy pot. Rinse and drain. Add water and bring to a boil. Skim off foam. Simmer, covered, stirring occasionally, until vegetables are becoming tender. Add water if too thick.

Meanwhile, prepare leeks, cabbage and greens. In a frying pan, cook them gently in olive oil until wilted.Roman Grain and Greens Soup

Add the chickpeas, salt, oregano, oregano, ground fennel and coloratura de alici to the soup. Simmer 5 minutes.Roman Grain and Greens Soup

Stir the greens into soup. Simmer, stirring frequently, just until cabbage is tender, about 10 minutes.
Taste, and add salt as needed.

Click here for updated GALLERY
Portfolio and Yelp


Spaghetti Spoon

Alberto Sordi in An American in Rome, 1954.  Spaghetti Spoon


I can’t remember how old I was when I first ate spaghetti with a fork and spoon.  I learned that technique because I grew up in America.  If I’d have grown up in Italy, I wouldn’t have been able to use the spoon because it’s considered poor etiquette.  Either way, it doesn’t matter much to me how you eat it as long as you don’t cut it with a knife.
Spaghetti Spoon


ITALIAN CURIOSITIES: SHOULD YOU OR SHOULD YOU NOT USE A SPOON TO EAT SPAGHETTI?

You know Italians are passionate, sometimes even too much. You just need to look at them when it comes to soccer. In the kitchen, if there is something likely to start up a heated discussion around the table – besides soccer, of course – it must be the way you eat your spaghetti (and long pasta in general) . . .

See the full spaghetti spoon article here:

Spaghetti Spoon

Click here for updated GALLERY
Portfolio and Yelp