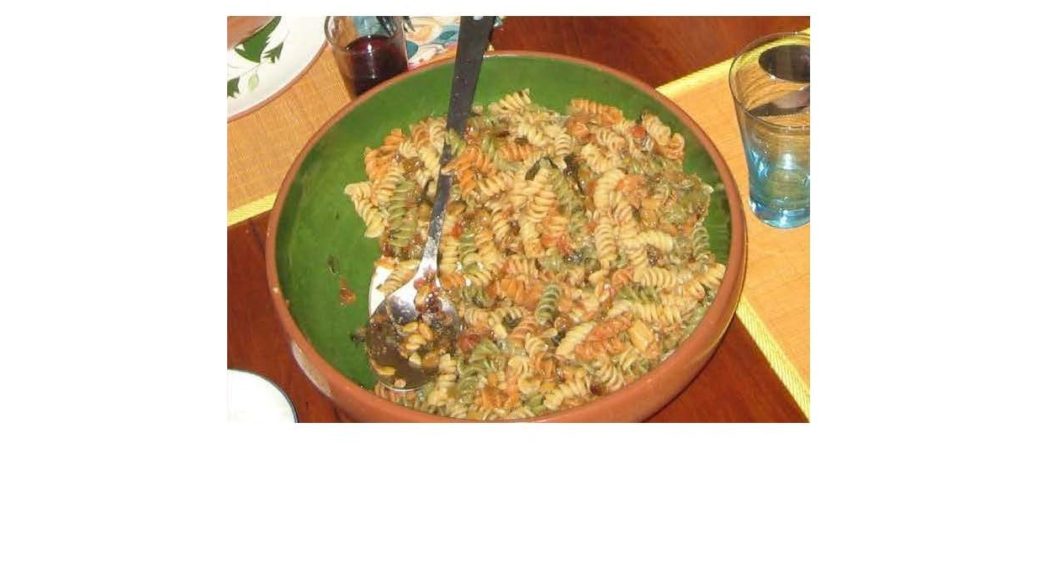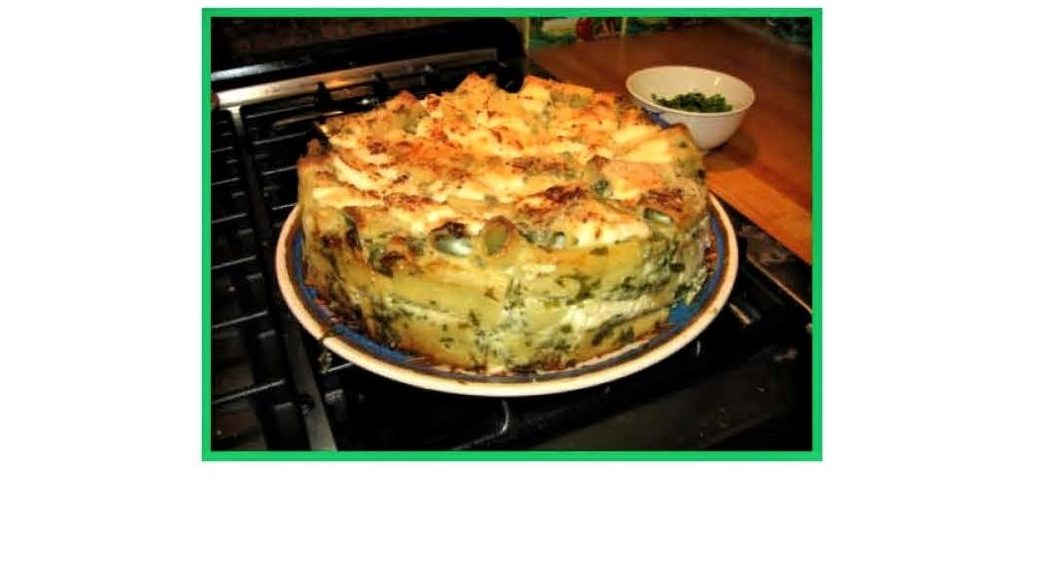
Baked Pasta with Peas
Baked pasta is typically made with red sauce. Baked pasta with peas is white and green with no mozzarella.


Butter 9” spring loaded pan and dust with Parmesan.
Sauce – Melt ½ stick of butter in a pot and add ¼ cup of flour and whisk until blended. Slowly whisk in quart of milk and bring to a simmer. Cook until thickened – whisk occasionally. Remove from heat and whisk in 1 cup Fontina and 1 cup Parmesan. Add egg, whisk and taste for seasoning. Cover & keep warm.
Place rack in upper 1/3 of 375o oven.

Put ½ of pasta mix into 9“pan and dot with ½ of the ricotta. Put the rest of the pasta in the pan and dot with remaining ricotta and sprinkle with ¼ cup of Parmesan.
Bake for 30 min. then sprinkle with remaining ¼ cup of Parmesan and bake for another 10 minutes. Place under broiler, watching closely, for a minute or so to brown top.
Let it rest for 30 minutes before removing from pan so cheese can harden. Cut into wedges and sprinkle with parsley and mint.

Click here for updated GALLERY II
Writing Site and Yelp